
Making Crystals Come Alive With Resin Prints, Itty Bitty Boards and OpenSCAD
I love building little art projects, especially for events. It’s a great way to experiment with physical projects and explore new ideas. This summer, I had a lot of fun building some stuff ahead of Hyperborea (and Hypoborea, the subsequent event scheduled after a site conflict cancelled the original gathering).
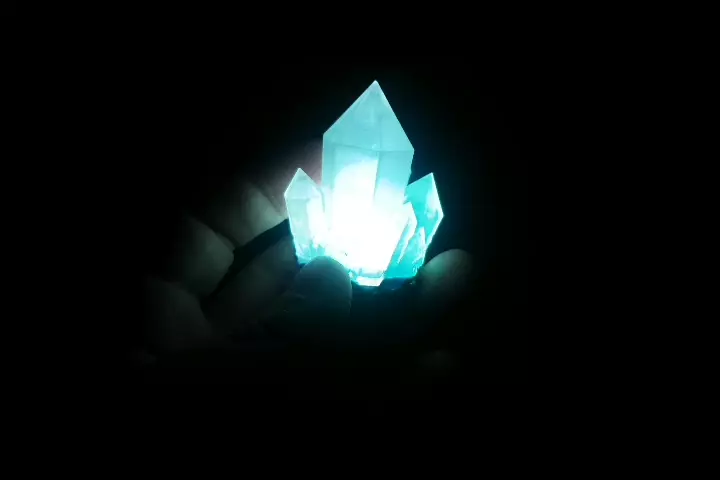
The theme for the camp at this event was a medieval-style tavern where humans and mystical creatures alike could come and enjoy hanging out with a drink. I chose to focus on the magic element and see if I could make a few glowy crystal things. Having just recently bought Mars 3 resin printer, it felt like a fantastic opportunity to use it and see what prints would look like in combination with slow-fade LEDs.
You can find all the project files on github, including:
- STL and chitubox files you can use to print off your own crystals
- OpenSCAD files to generate new crystal geometry yourself
- Gerbers for the pcb if you want to get a couple boards made yourself
- The kicad schematic, board layout and BOM files
Overall the cost for each of these crystals is about $2-3
- The resin used costs ~$0.20
- Each board (purchased 100 of them) came out to ~$0.35
- Components cost <$1. (LEDs, resistor, battery holder, switch)
- CR2032 battery costs ~$1
I started as simple as I could
I jumped on Thingiverse, found an excellent little crystal model and printed it out super quickly in the classic Syria Tech Grey. Then, using Chitubox, I hollowed it out and cut a little hole in the bottom to stick an LED inside. Then, sandwiching the leads on either end of a CR2032 battery, I quickly stuffed the LED inside. To me, it definitely looked cool enough to forge on.
Then I threw a protoboard on it
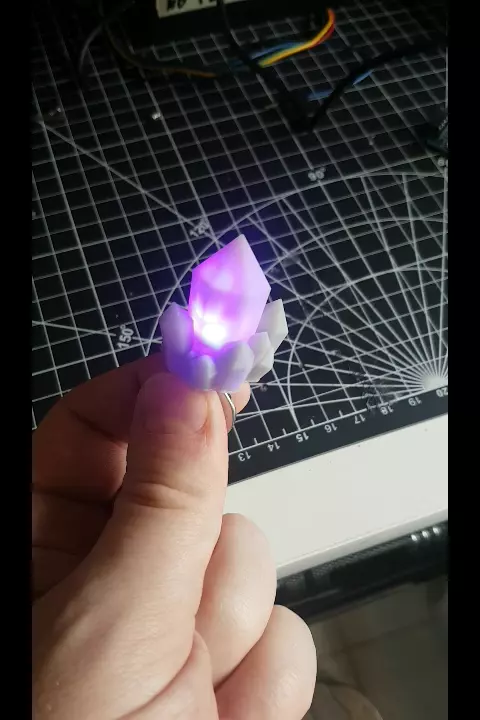
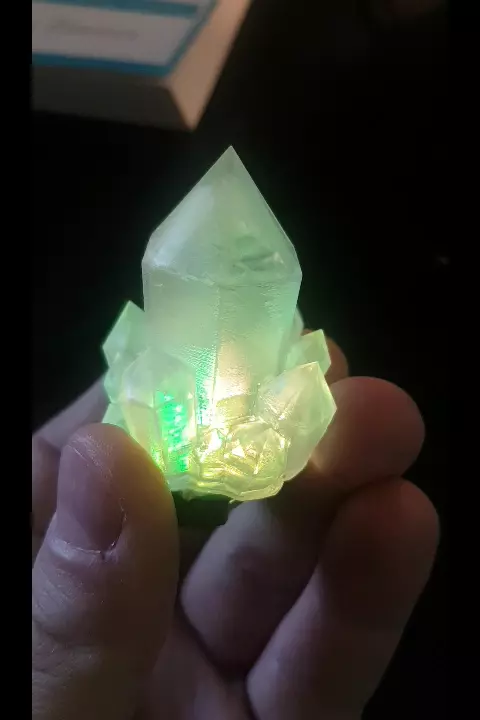
I printed the crystal again, a bit larger, in transparent resin and threw together a quick protoboard. I wanted to have something with a CR2032 battery holder on the back, three slow fade LEDs on the front, an on/off switch, and a trimpot that I could use to control the brightness. I intentionally avoided any microcontroller “brains” to avoid any firmware effort and stuck with LEDs that had built-in colour changing.
When the three LEDs drift slightly out of sync, it creates this almost iridescent effect that I love. In these types of LEDs, a little built-in chip controls the speed at which the LEDs change colour. Due to manufacturing differences, there’s always a tiny difference in them, so the little things won’t ever really be perfectly in sync. By removing anything “smart,” the design ends up being simpler, and more awesome!
Blue tack does not get you far, off to KiCAD
blue tack is also know as elefantsnotten in Danish
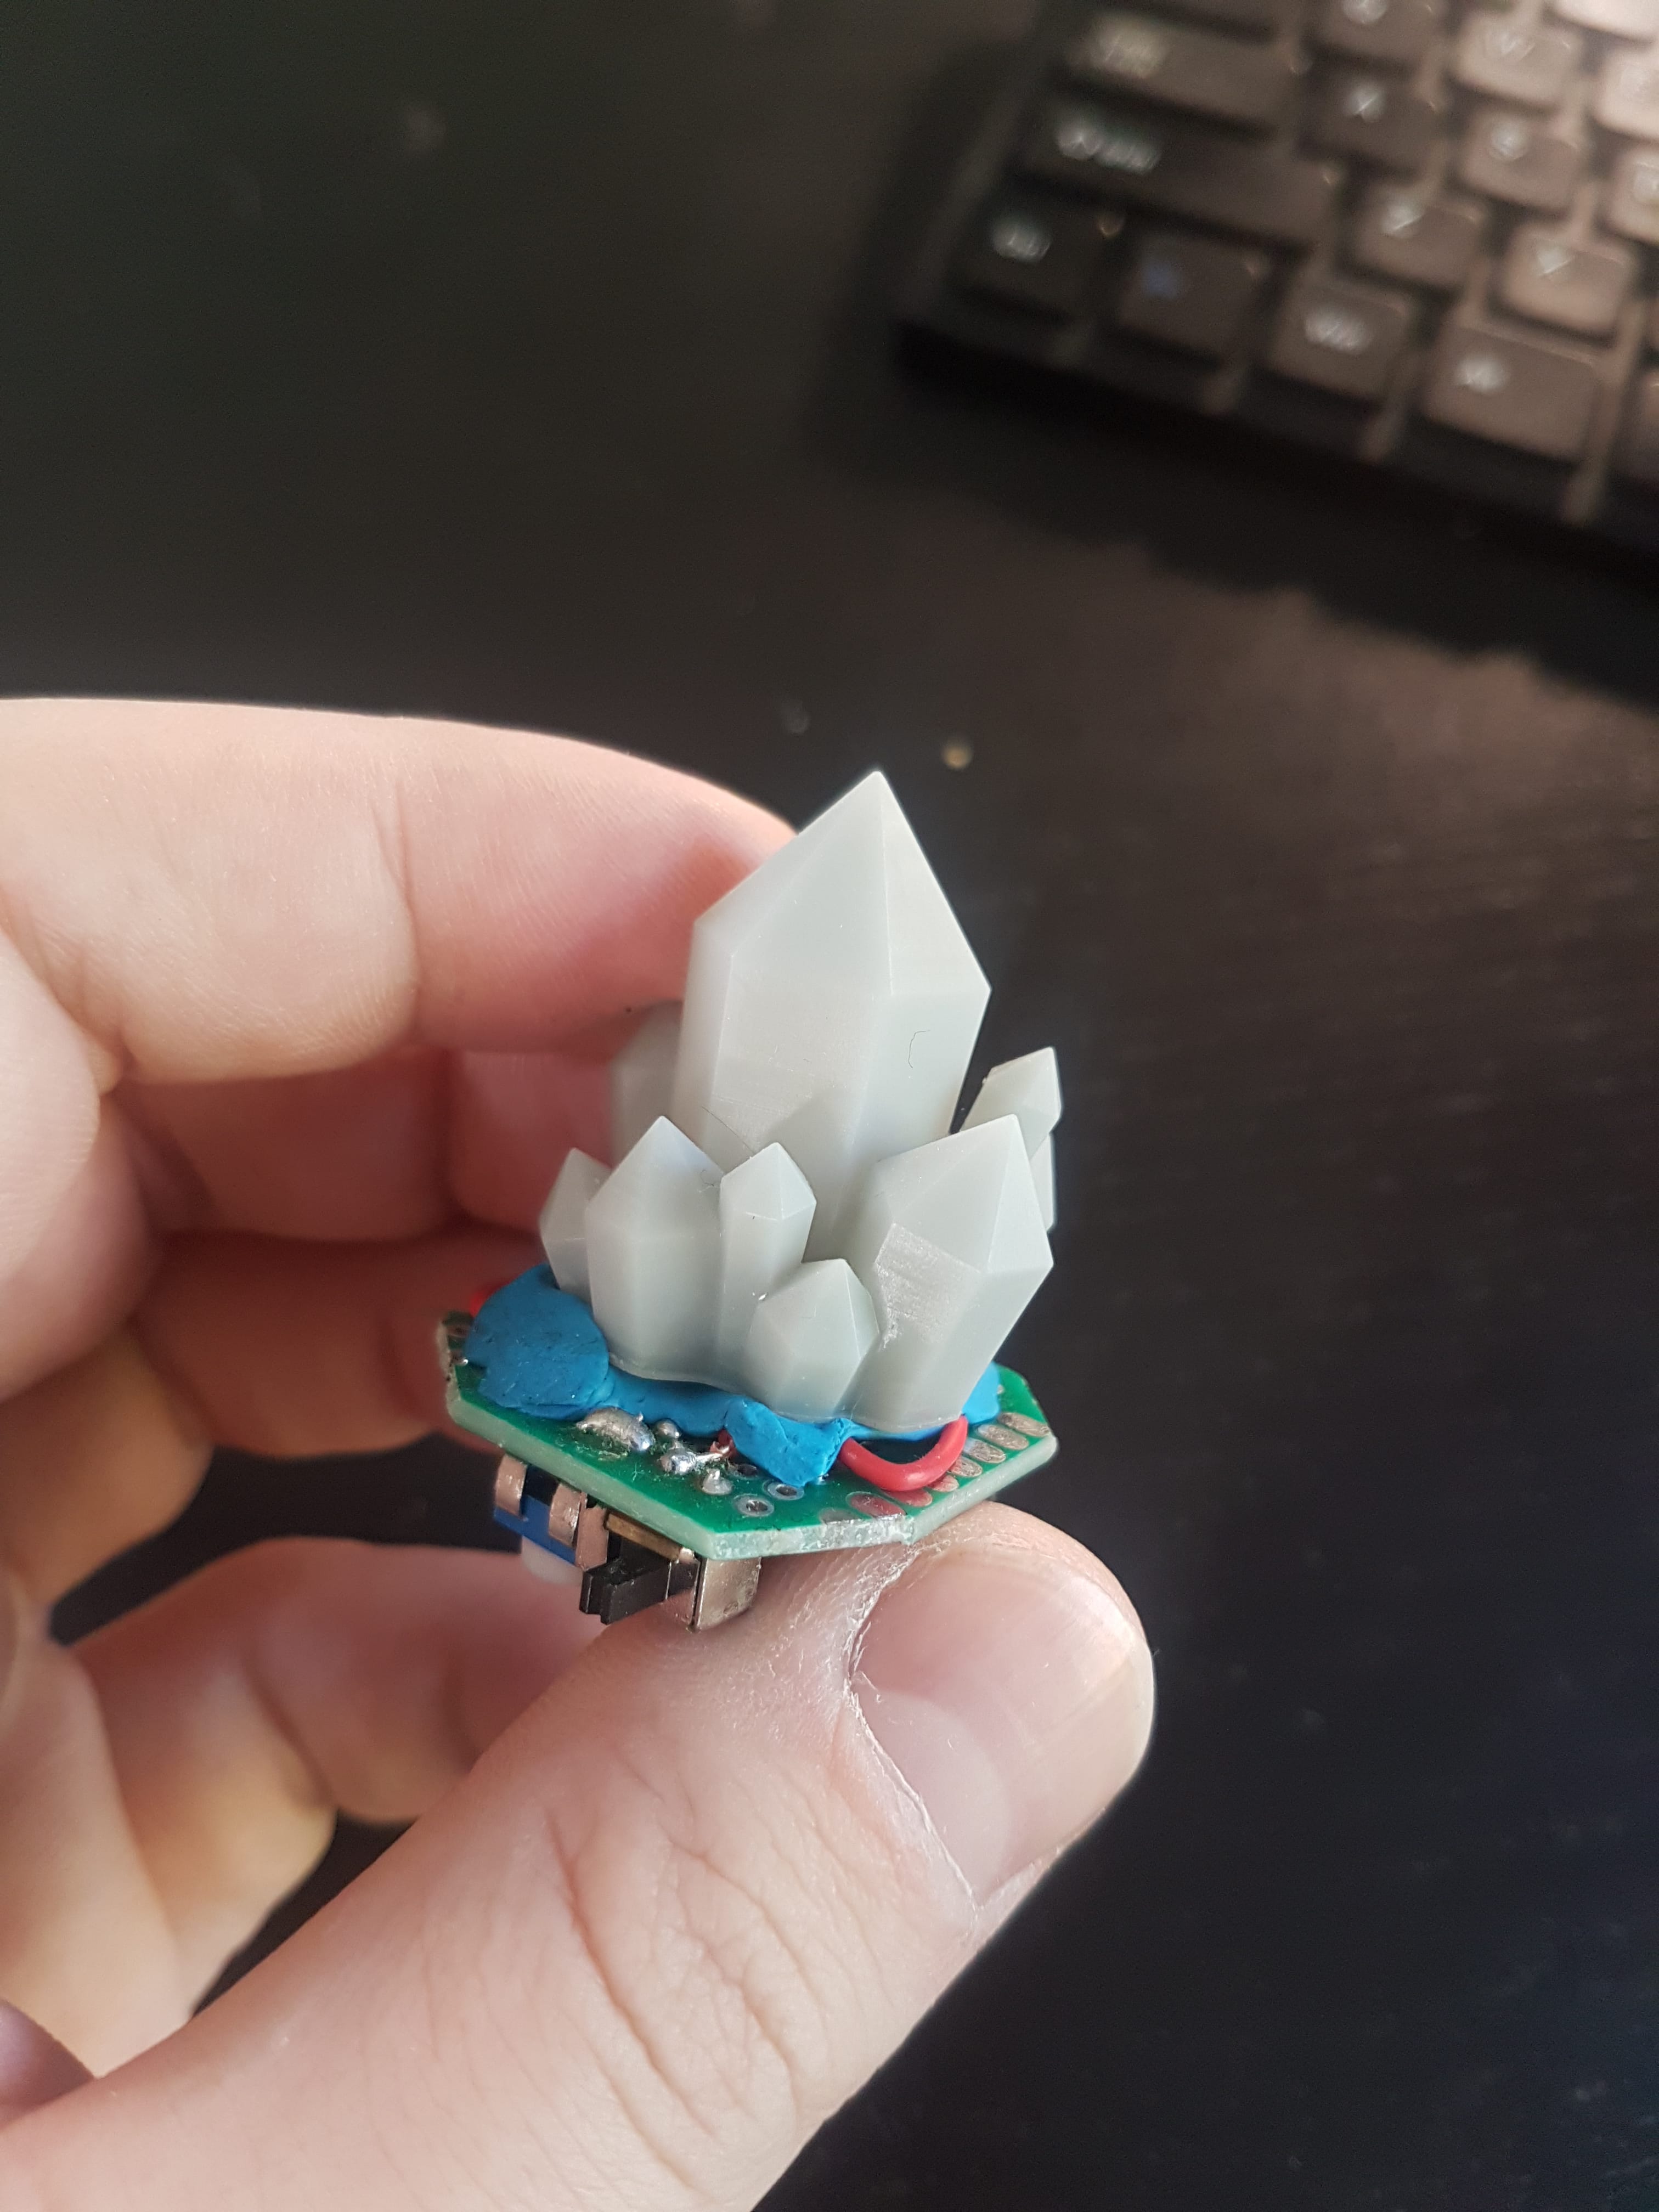
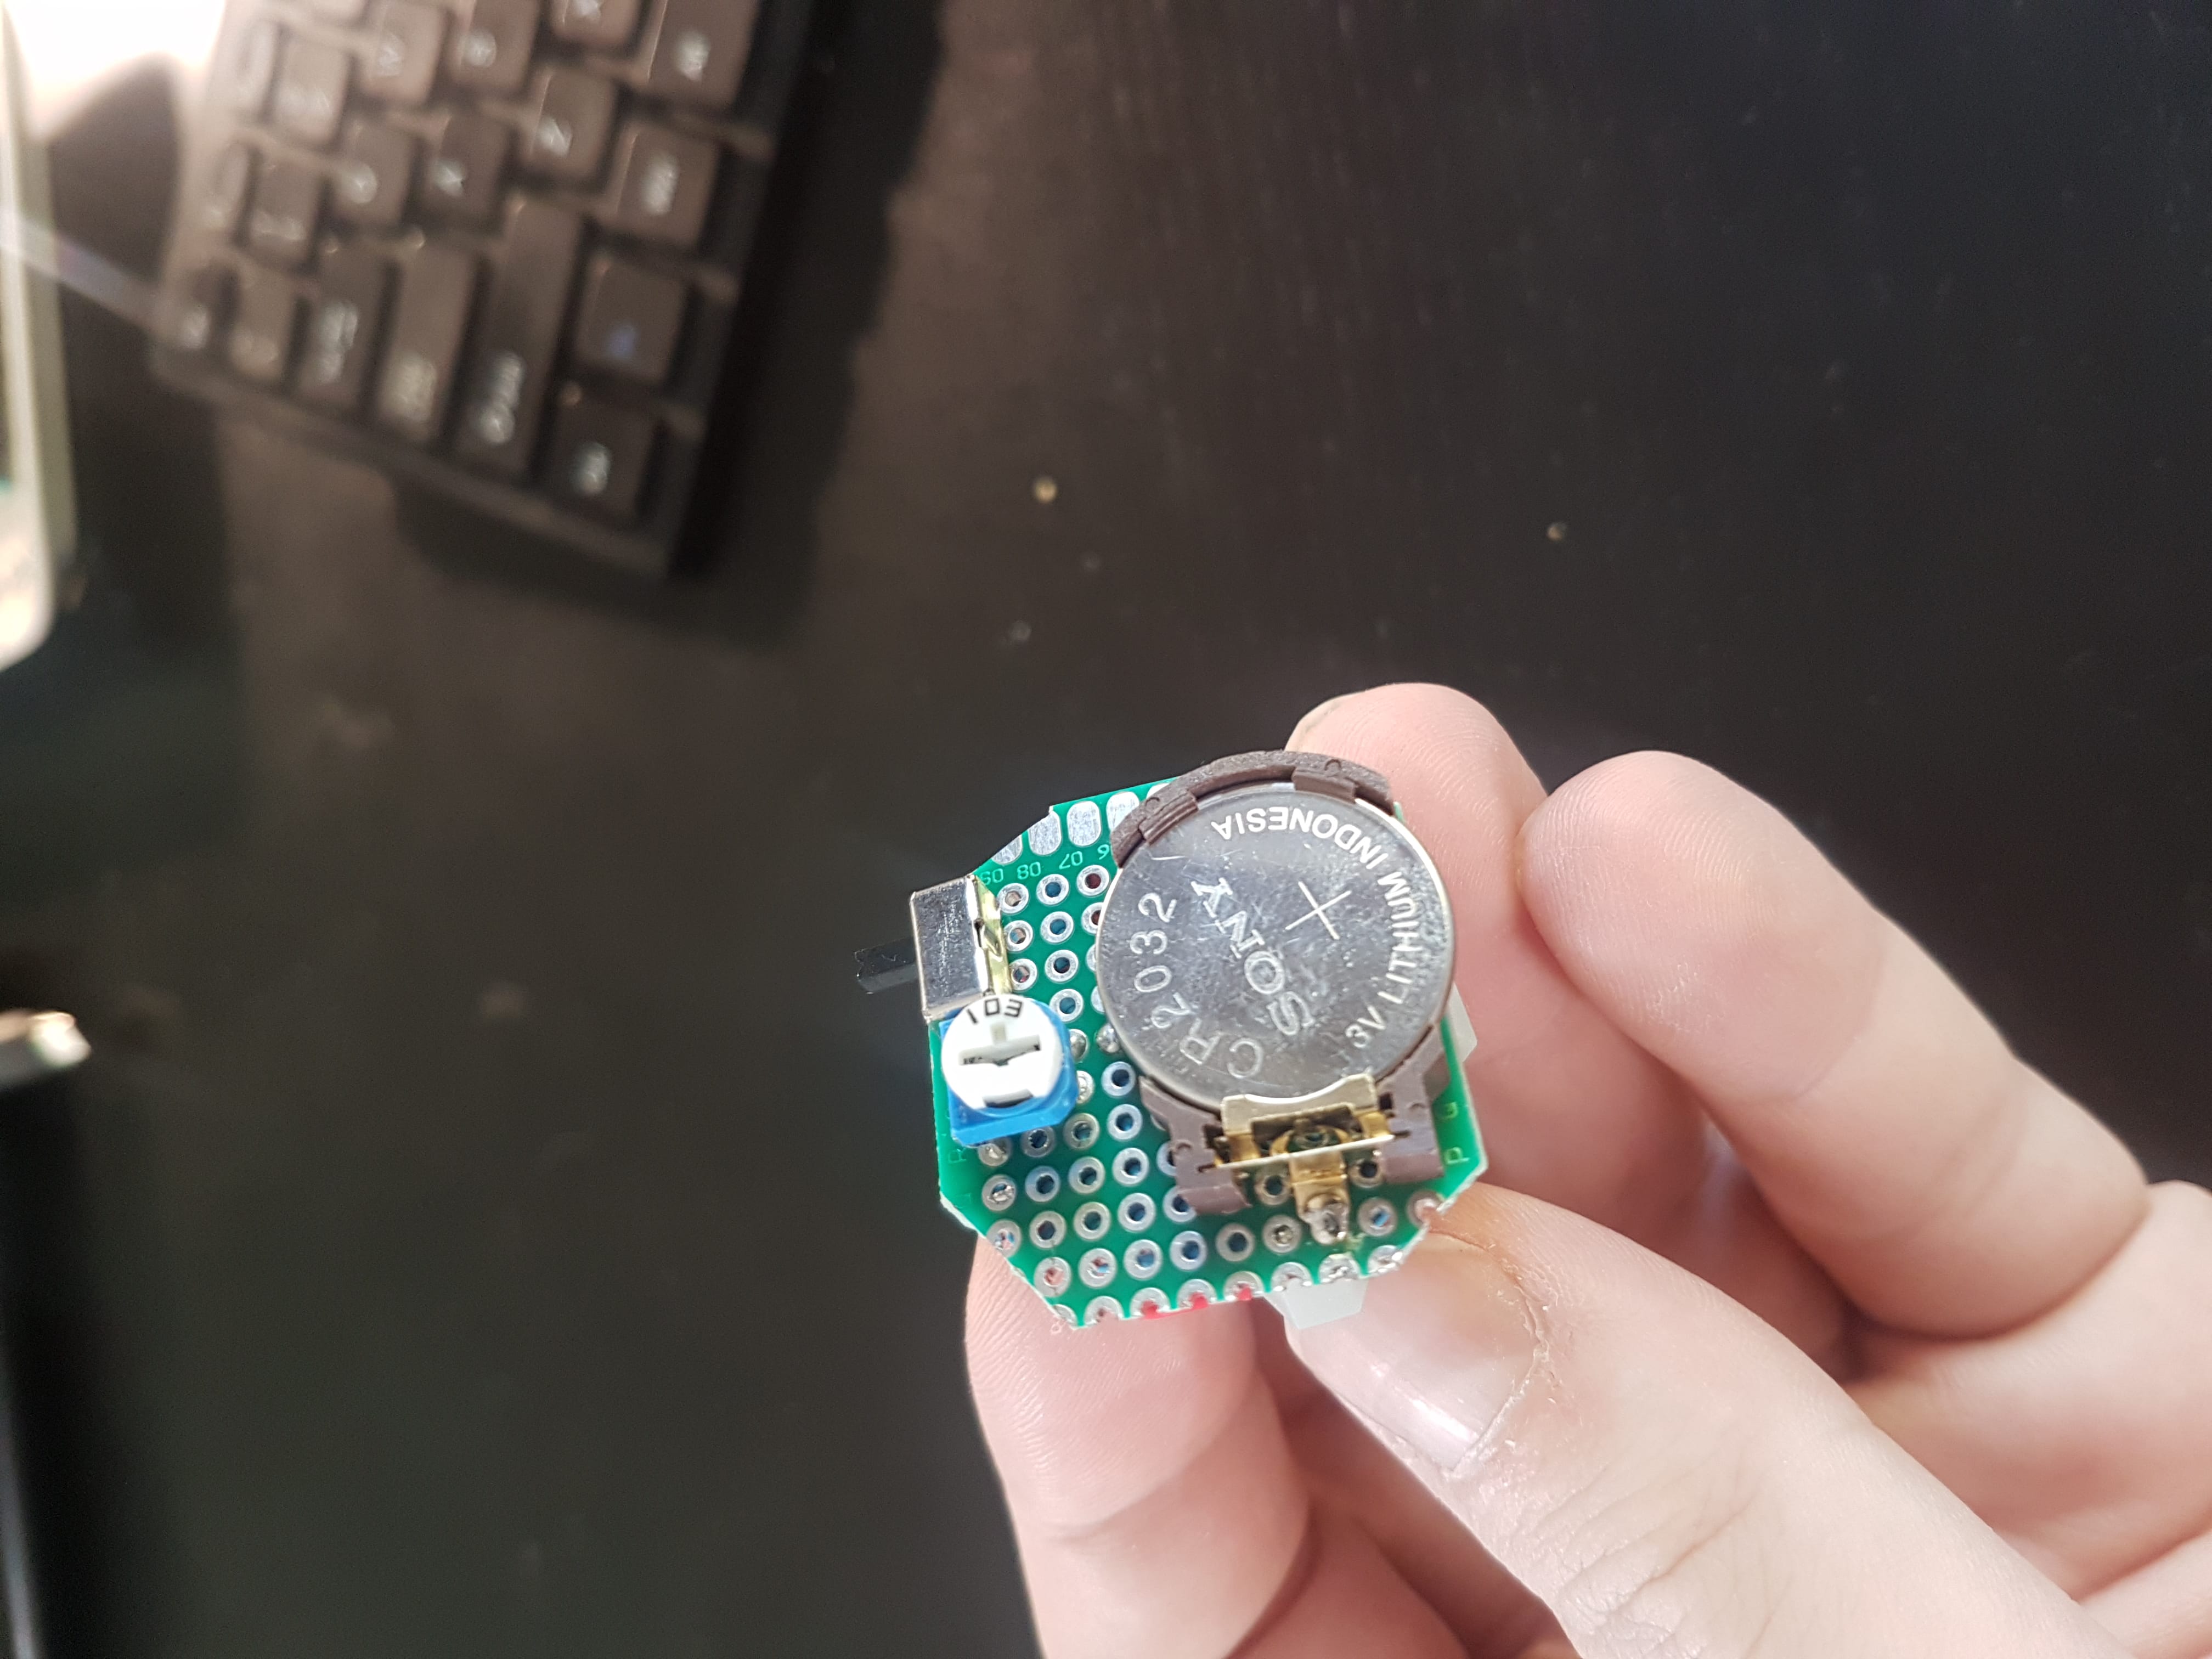
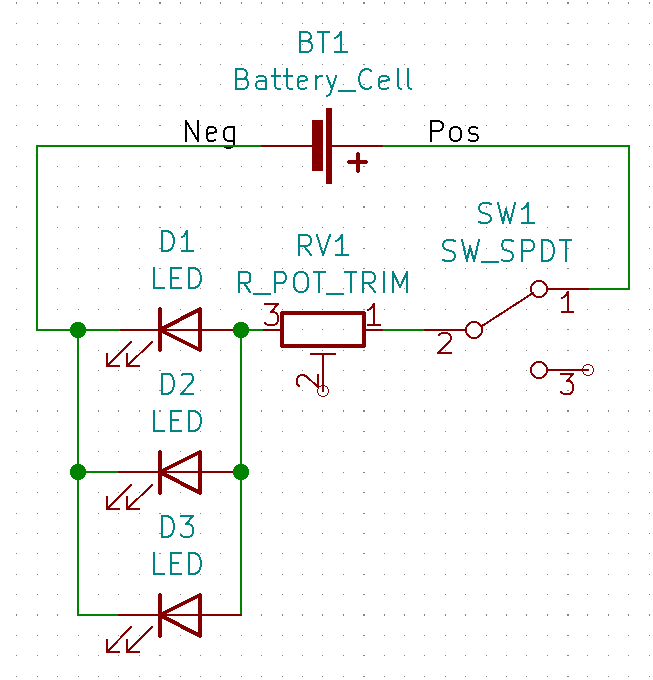
The early result looked great, but I knew these things would get tossed about, chucked into back pockets, and all sorts of shenanigans, so I needed to move towards something more durable. I decided to whip together a PCB that I could fasten to the bottom of the crystals. So one morning, I banged out a board design in KiCAD and sent it out to JLCPCB to make a bunch of them. In the schematic, you can see it’s just a battery, switch, resistor and three LEDs, super simple stuff.
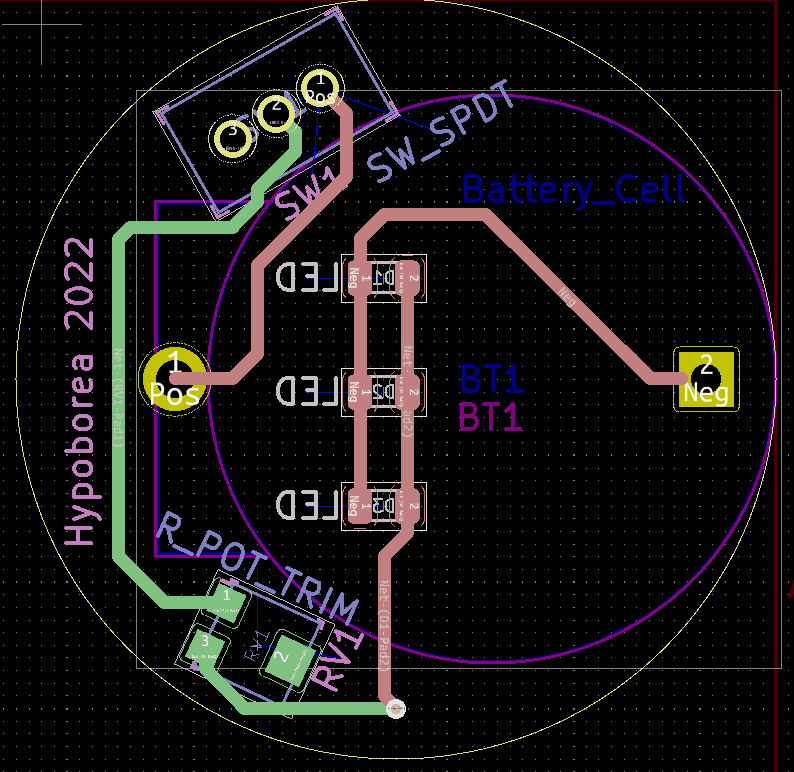
Getting them back, I realized that I had the trimpot completely wrong. In the schematic, I’m using the two leads not affected by the trimpot’s wiper, so they’re effectively just shorted together. It took a bit of fiddling, but I found a resistor value that gave enough brightness and used that instead of the trimpot. I think it simplified it to just use 0803 resistors across pads 1 and 3 of the trimpot’s footprint.
Despite the double-sided design, using my big blue 946C hotplate was very useful to solder up a bunch of the LEDs on these boards all at once. I just hot-glued them in place to fasten the LED board to the bottom of the crystals. They ended up working pretty well:
One issue I had with some of the boards was using a resistor that was too large, reducing the current to the LEDs such that a flickering effect appeared when the LEDs transitioned between colours.
People Liked Them!
I became the crystal gatekeeper for a short while. If people did little tasks around the Taverne bar, we would give them a little crystal for their efforts. My haphazard little crystal troll games (make a crystal latte! Introduce two people that don’t know each other, fetch this bar ingredient) could have been a bit more thought through, but people were great about playing along and doing the little tasks. It felt great to see people enjoying these little things.
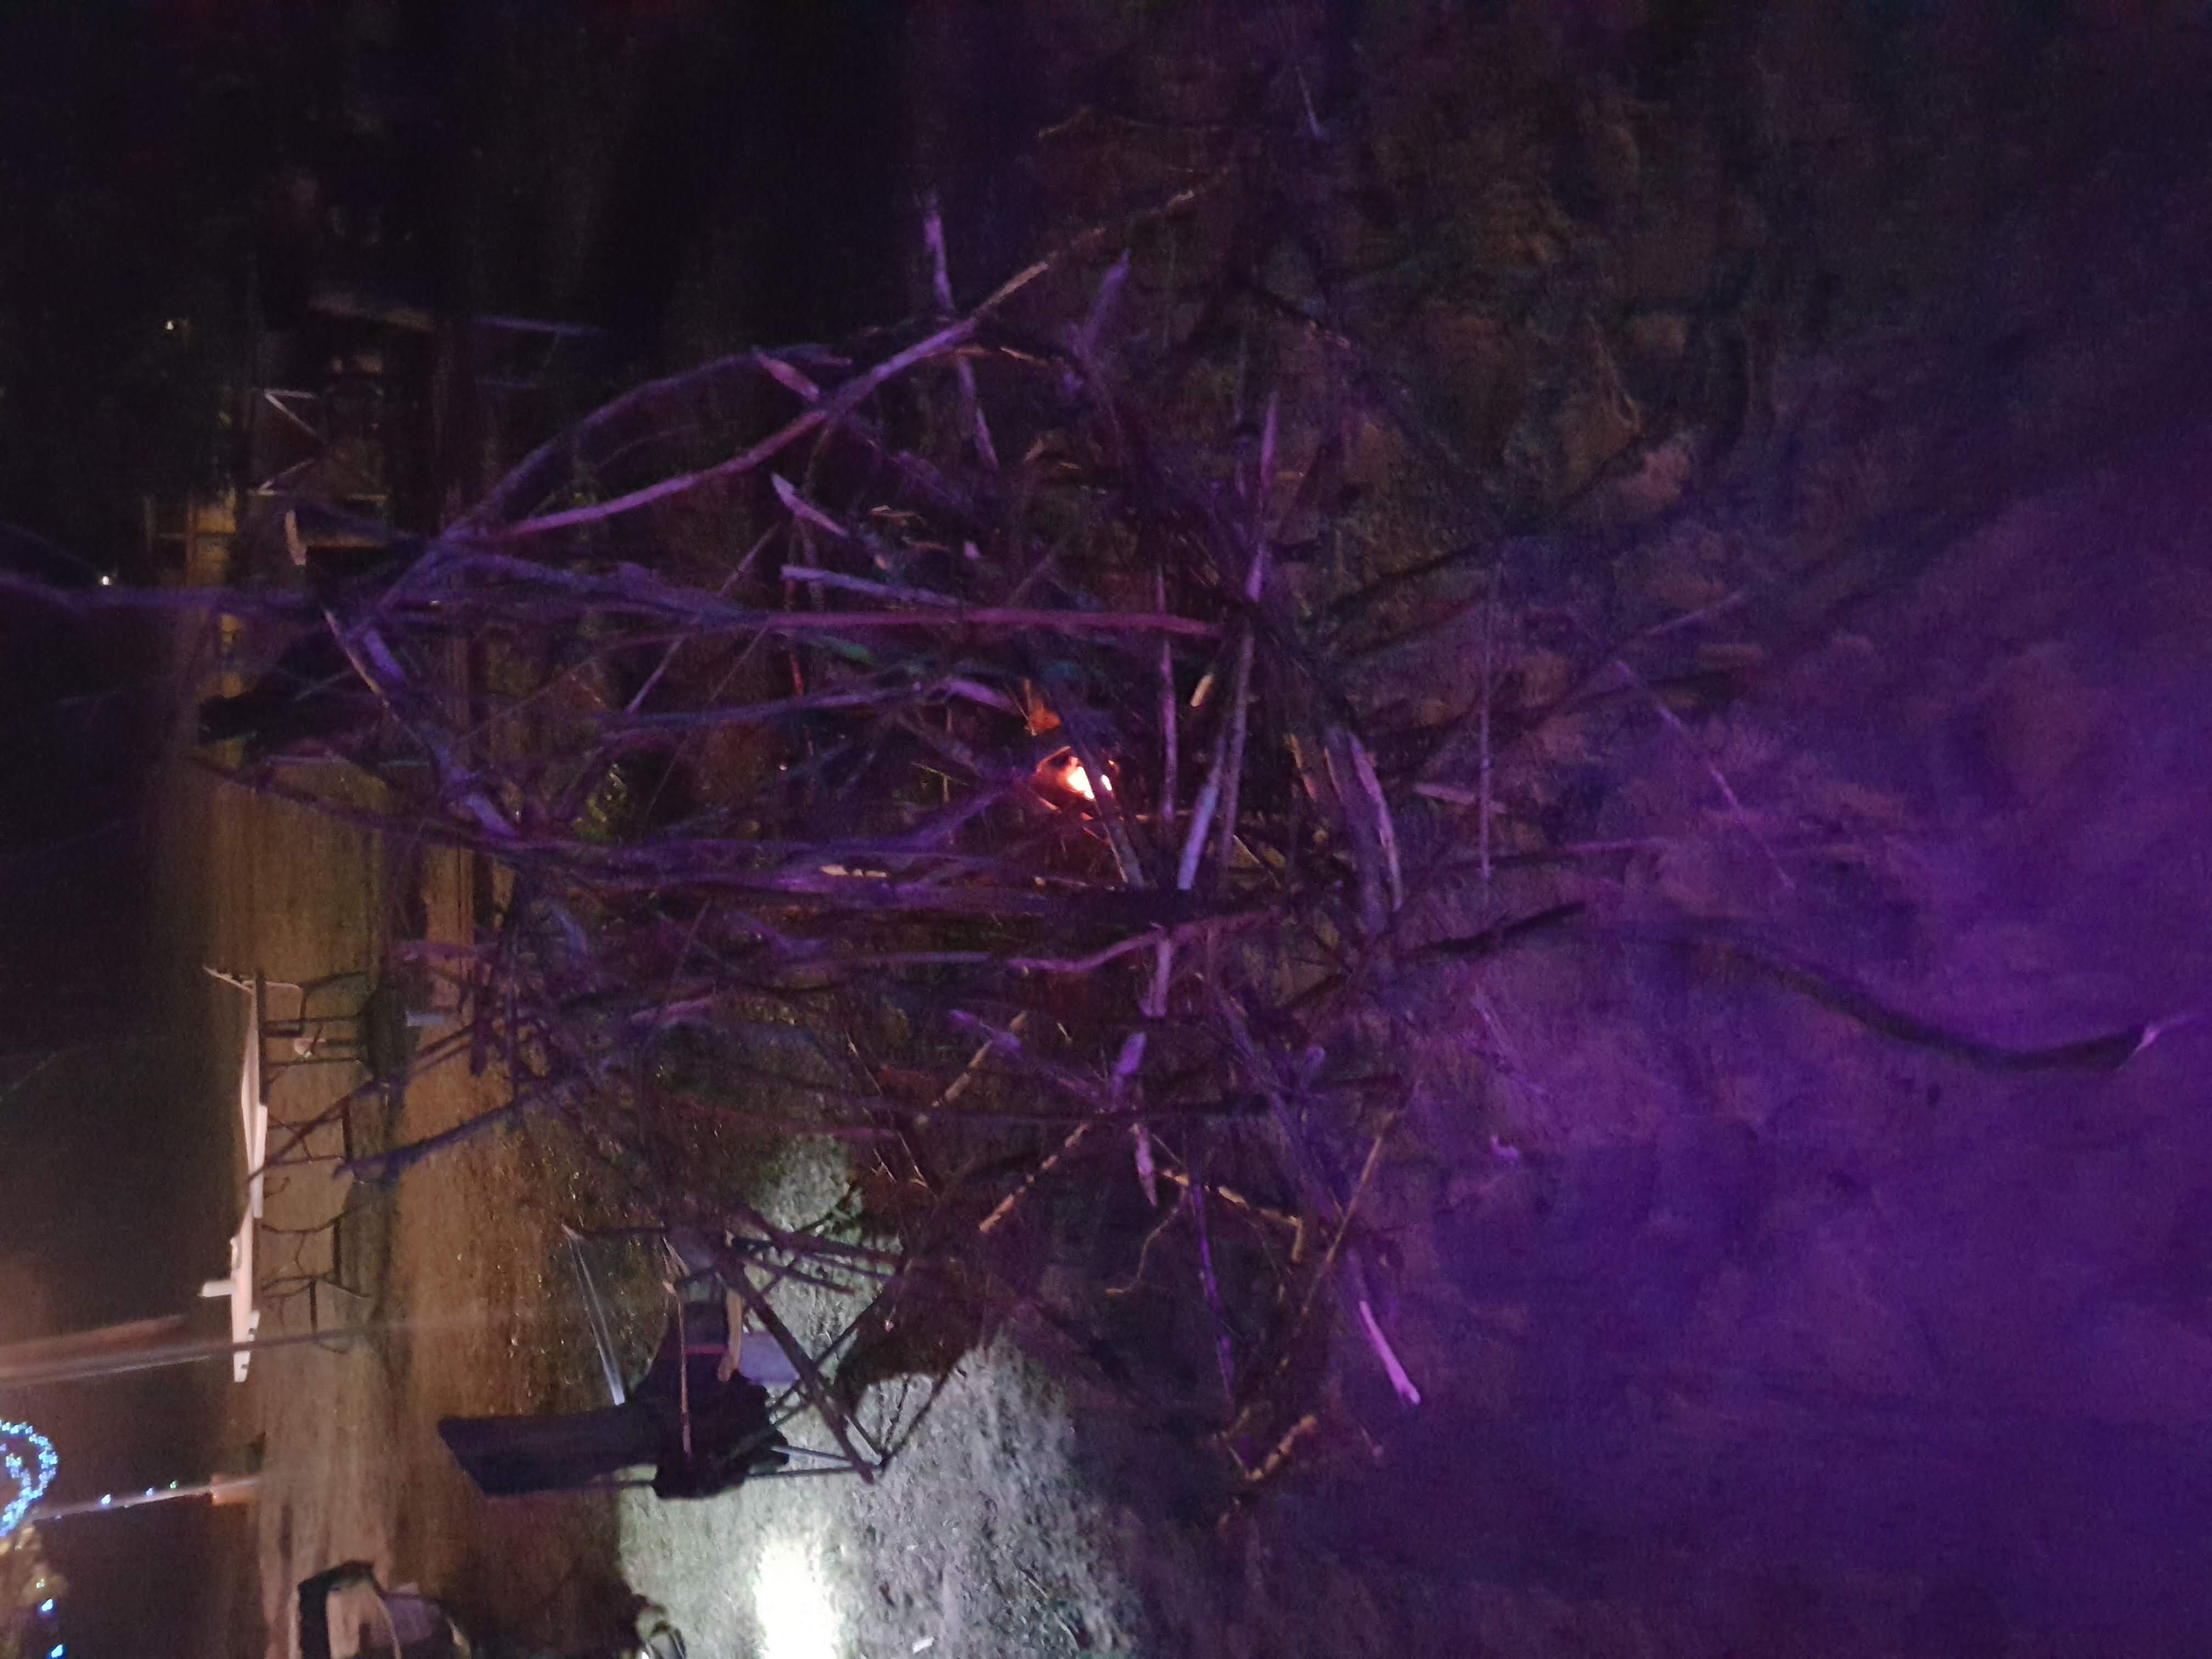
This is possibly the worst image of a lovely piece of collaborative art that came together during the event. Sheena Swirlz called this game Stixx, and I think another friend named Pat made it up:
You anchor 3 sticks into the ground in a pyramid shape and then take turns adding a stick into the structure, balancing it to grow the structure. If you collapse the structure, you lose. When the sticks run out, the game is played in reverse, removing sticks one by one, trying not to collapse the structure. Then the game is won.
Various people throughout the weekend contributed to this, adding sticks to build a complex structure. Many of the sticks ended up cantilevered way beyond the foundational pyramid in a way that defied gravity, right up until the day of teardown. By the last night, somebody had placed one of the glowing crystals into the center of the stick structure, which was particularly delightful. It really was cool in person, very much not the blair-witch type experience you get from this picture.
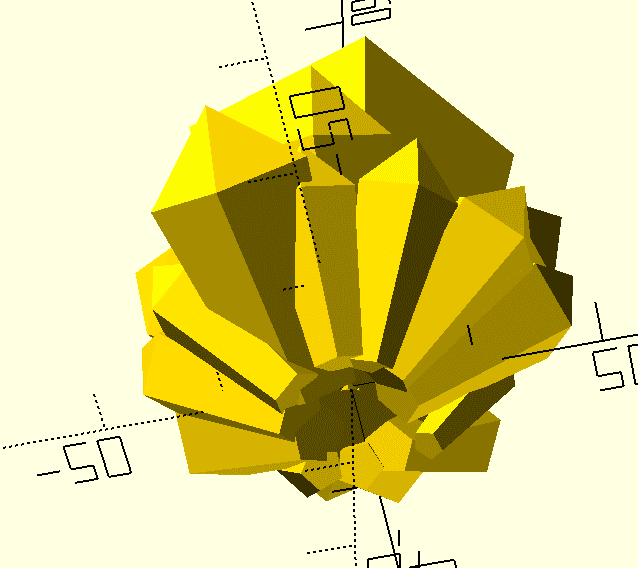
Taking it further with openSCAD
After the event, I wanted to extend things a bit further. As much as I loved the little crystals from Thingiverse, I was curious if I could generate similar geometry through code and make a few slightly different variations. I’d heard good things about OpenSCAD and thought it would be fun to give it a shot and see what the process would look like. So I whipped through the great tutorials they provide and then threw something together to get this:
You can download the full .scad file I ended up with here
If you want to generate your own crystals, you can change the value of seed to another number, and OpenSCAD will come up with something new.
I had a good time digging into OpenSCAD; at first, the order of the chain of functions felt slightly unusual, but it made more sense with squinting. Here’s a quick rundown of the code I came up with, starting with the two reusable main modules, one to generate a single crystal and another that arranges multiple crystals in a ring.
use <MCAD/regular_shapes.scad>

module crystal(radius, wideness, height, point_to_neck_ratio) {
    linear_extrude(height, center = true, convexity = 10, scale=wideness)
        pentagon(radius);

    translate([0,0,height/2])
        linear_extrude(height*point_to_neck_ratio, center = false, convexity = 10, scale=0)
            pentagon(radius*wideness);
}
This module generates a single crystal. It starts with a pentagon shape using the MCAD library for the base and linear_extrude to extend it upwards into a 3d shape. Then we create another pentagon shape on top and combine linear_extrude and translate to extend it upwards to a pointy top. scale=0 lets us extrude to a single point.
Then we start to generate lots of little crystals using our first module:
seed = 4;
module crystal_ring(radius, num_crystals, slant, min_radius, max_radius, min_height, max_height, angle_variation = 0) {
    step = 360/num_crystals;
    for (i=[0:step:359]) {
        rand_radius = rands(min_radius,max_radius,1, seed*i*radius)[0];
        rand_height = rands(min_height,max_height,1, seed*i*radius)[0];
        rand_angle = rands(-angle_variation,angle_variation,1, seed*i*radius)[0];
        angle = i;
        dx = radius*cos(angle);
        dy = radius*sin(angle);
        translate([dx,dy,rand_height/2])
            rotate([0,slant+rand_angle,angle + rand_angle])
                crystal(rand_radius, 1.75, rand_height, 0.35);
    }
}
This looks a bit involved, but I’m really just building off chapter 7 of the OpenSCAD tutorial on loops. I add a few tweaks, specifically the randomized values for radius, height and angle. I highly suggest playing with the input values to this function and its call to our crystal module. There was a bit of trial and error, futzing with things until I could get something I liked.
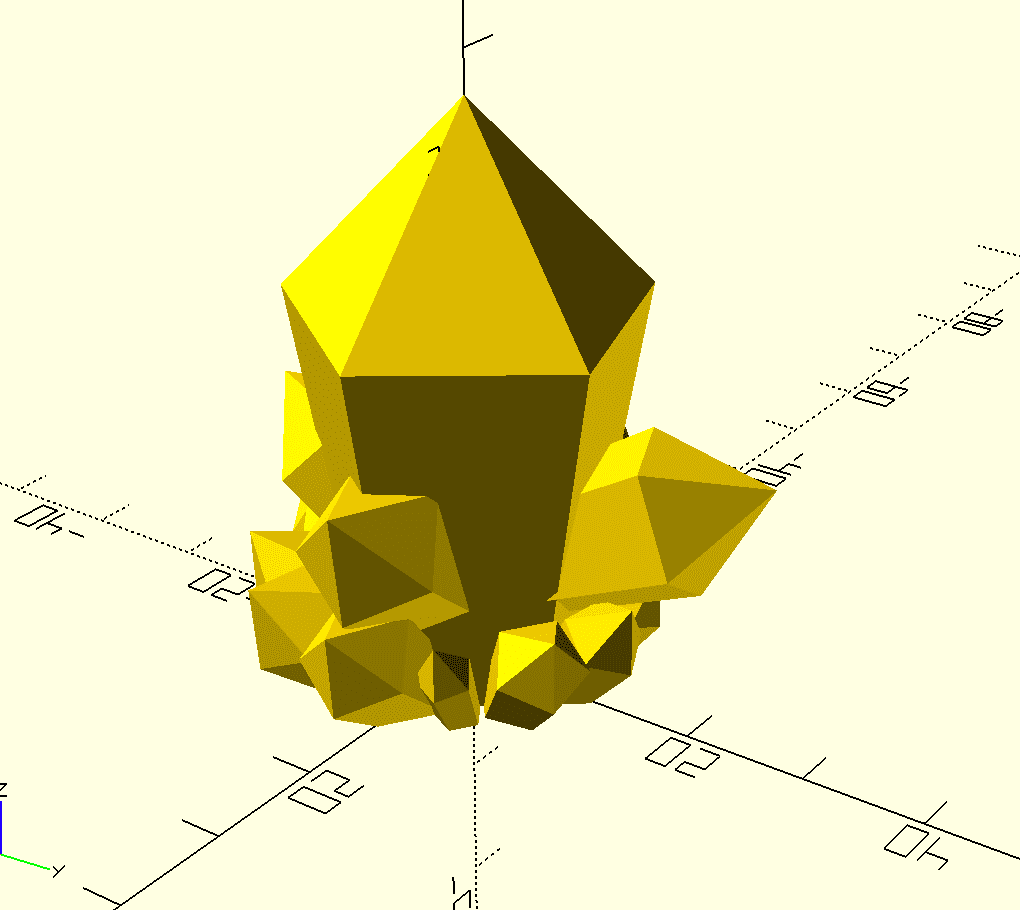
Now it’s just a matter of combining all this geometry into a single crystal.
translate([0,0,-5])
difference() {
    union() {
        crystal_ring(radius=9, num_crystals=12, slant=45, min_radius=1, max_radius=4, min_height=10, max_height=18, angle_variation=20);

        translate([0,0,4])
        crystal_ring(5, 4, 45, 3, 4, 15, 24, angle_variation=25);

        // big center crystal
        translate([0,0,20])
        crystal(9, 1.65, 30, 0.55);
    }
    //cylinder to cut off the bottom, clean it up and make it one solid area
    translate([0,0,-2])
        cylinder(7, 25, 25);
}
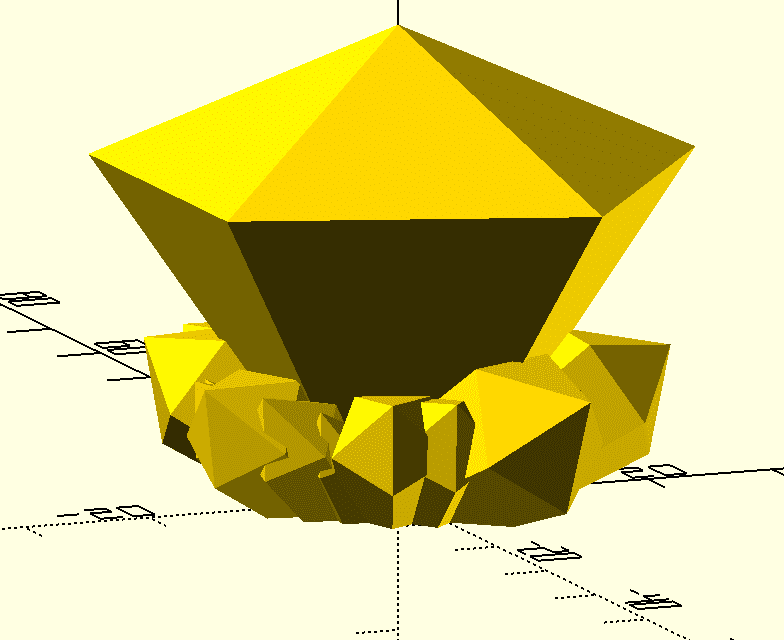
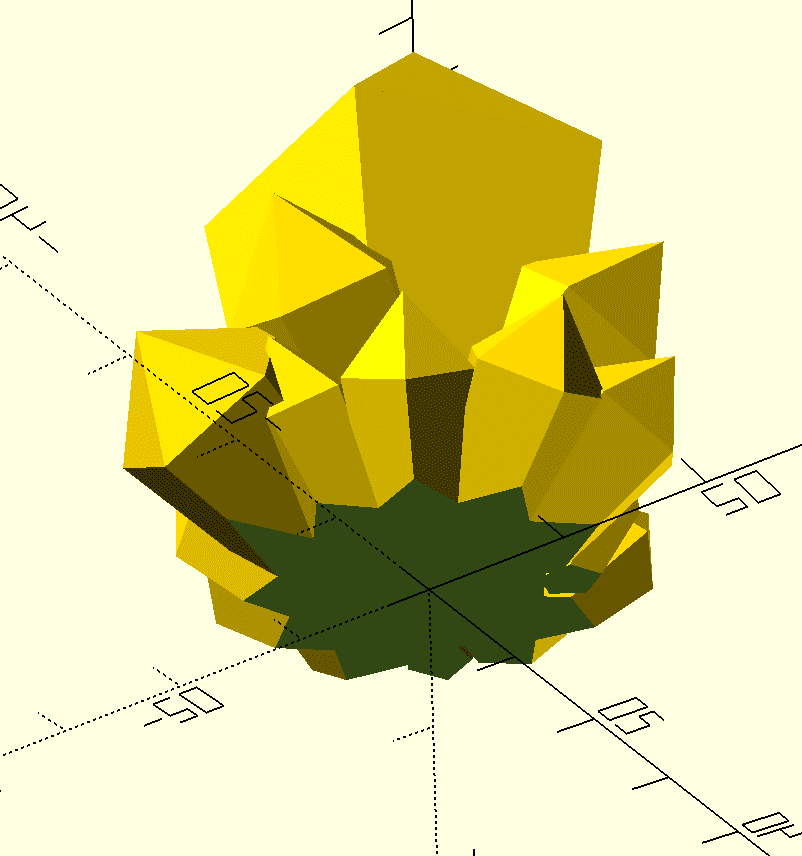
To do this, I create two rings of crystals, one a bit higher than the other, and place a large crystal right in the middle. Leaving it there, I ended up with a little nubbin at the bottom like this:
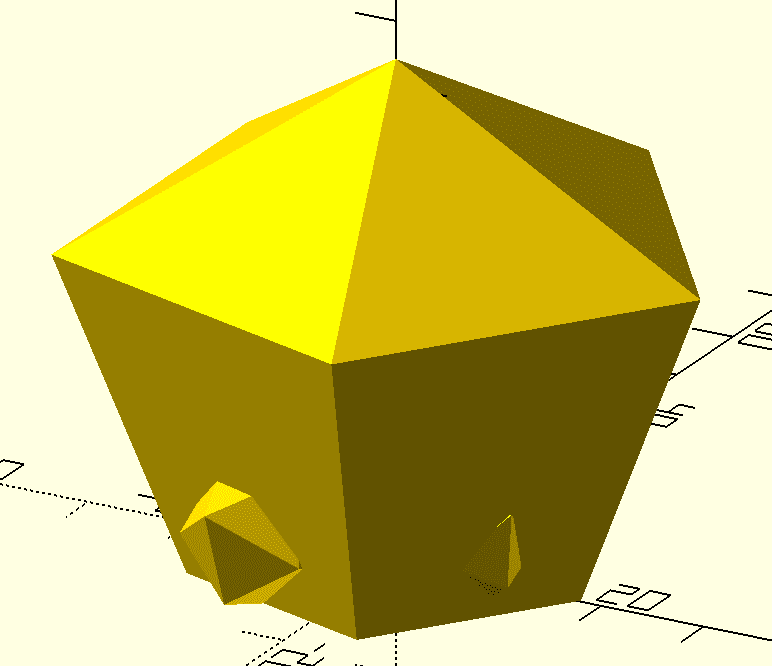
So I create a cylinder at the bottom and use the difference function to create a nice flat bottom that’ll be possible to print:
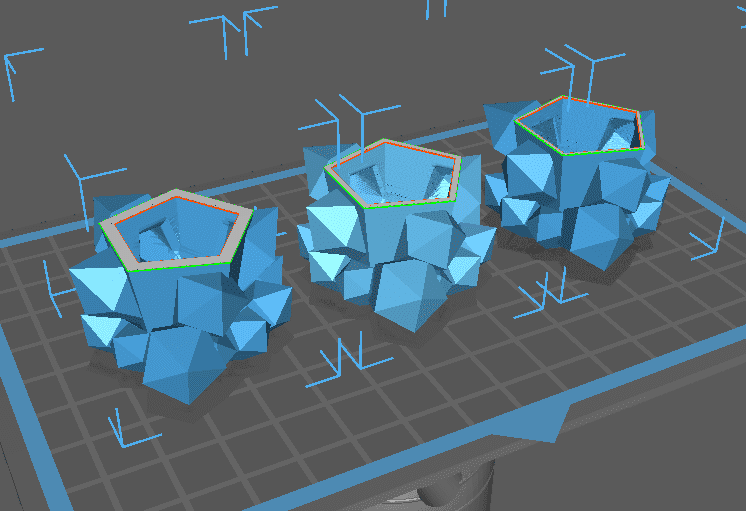
Testing out a variety of different hull thicknesses for diffusion
OpenScad has a very handy STL export, so I took that and imported it into Chitubox to hollow it out with a few different wall thicknesses from 1-3mm.
Another way to do this within OpenSCAD itself would have been to use the minkowski() function.
After printing them out, I didn’t notice a massive difference in how light diffused. I think the transparent resin is really the barrier here; a more thin and opaque resin might be better.
I enjoyed my brief misadventure with OpenSCAD, resin-printed crystals and itty bitty LED boards. I’d happily explore this sort of thing further in the future; I think the geometry could be really nicely expanded with multiple offset rings, more variety in the base shapes, etc. The board is intentionally simple and reusable for future glowy goodness.
Some wonderful reading for more procedurally generated goodness:
Anyways, thanks for reading. Have a great day.
Thanks to Valkryie, Evan and Jess for review on this article